Personal project
3D-Printed Guitar Capo
- Problem
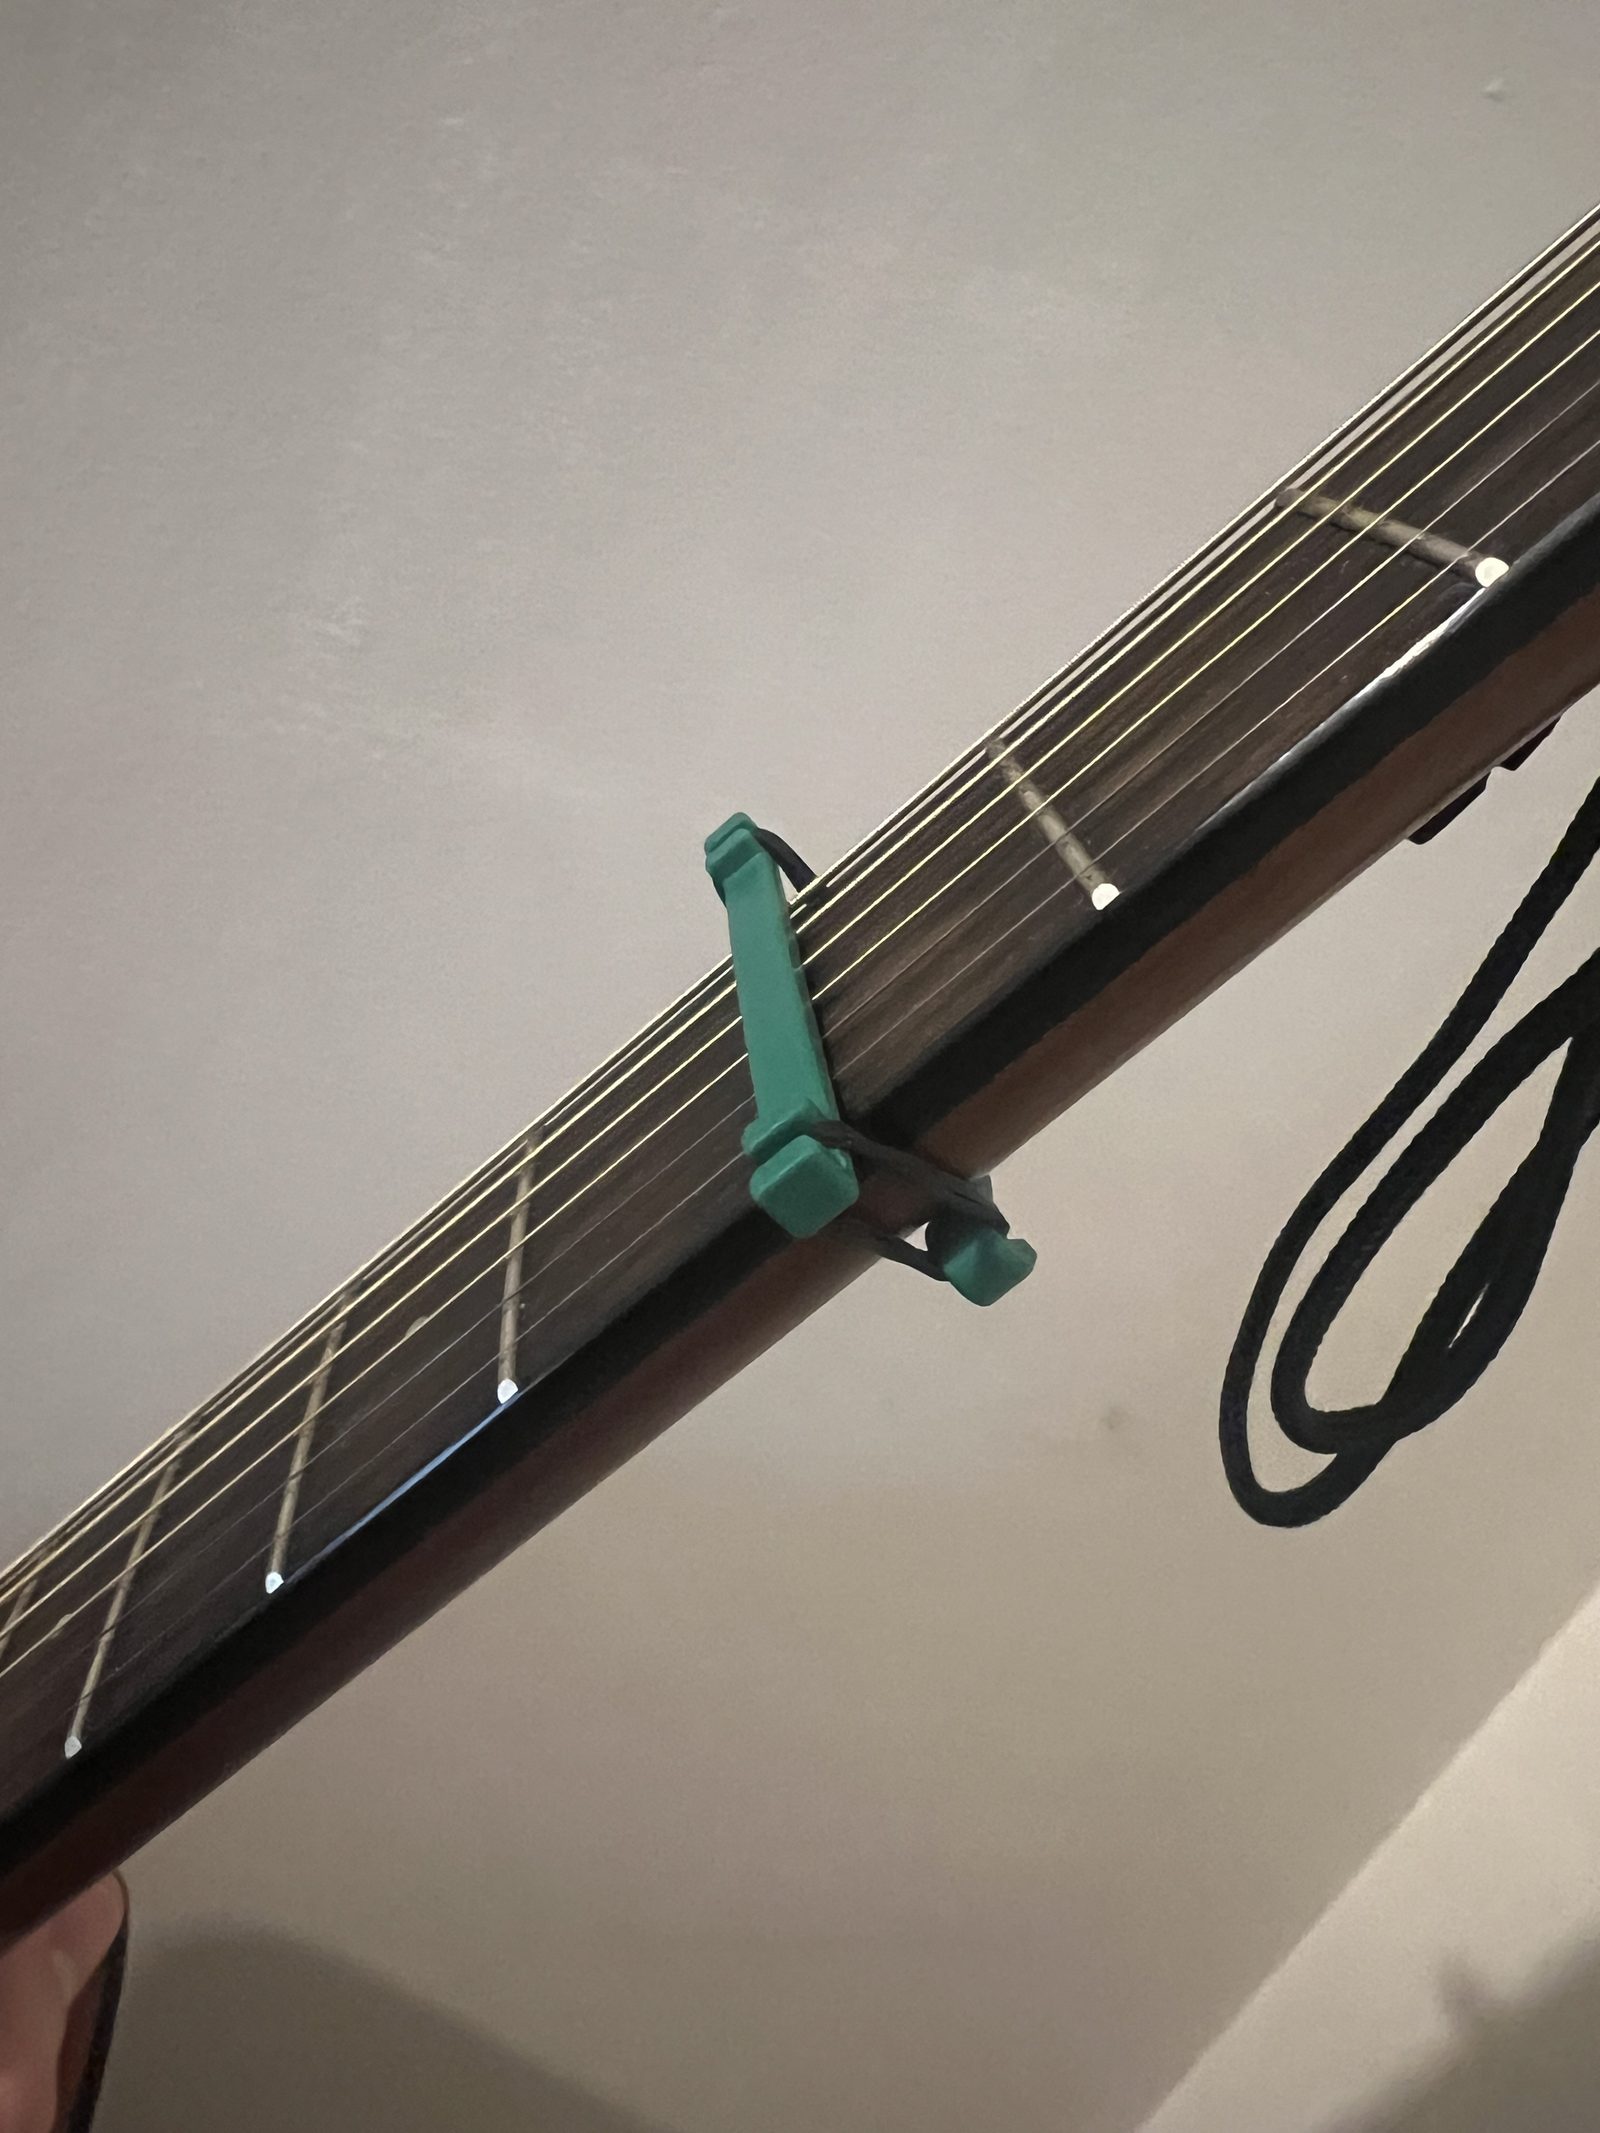
- Make a 3D-printed capo for an acoustic guitar that works at more than one fret.
- Date
- Jan 2026
- My role
- Personal project: design, printing and testing
- Tools
- SolidWorks, 3D printing
- Result
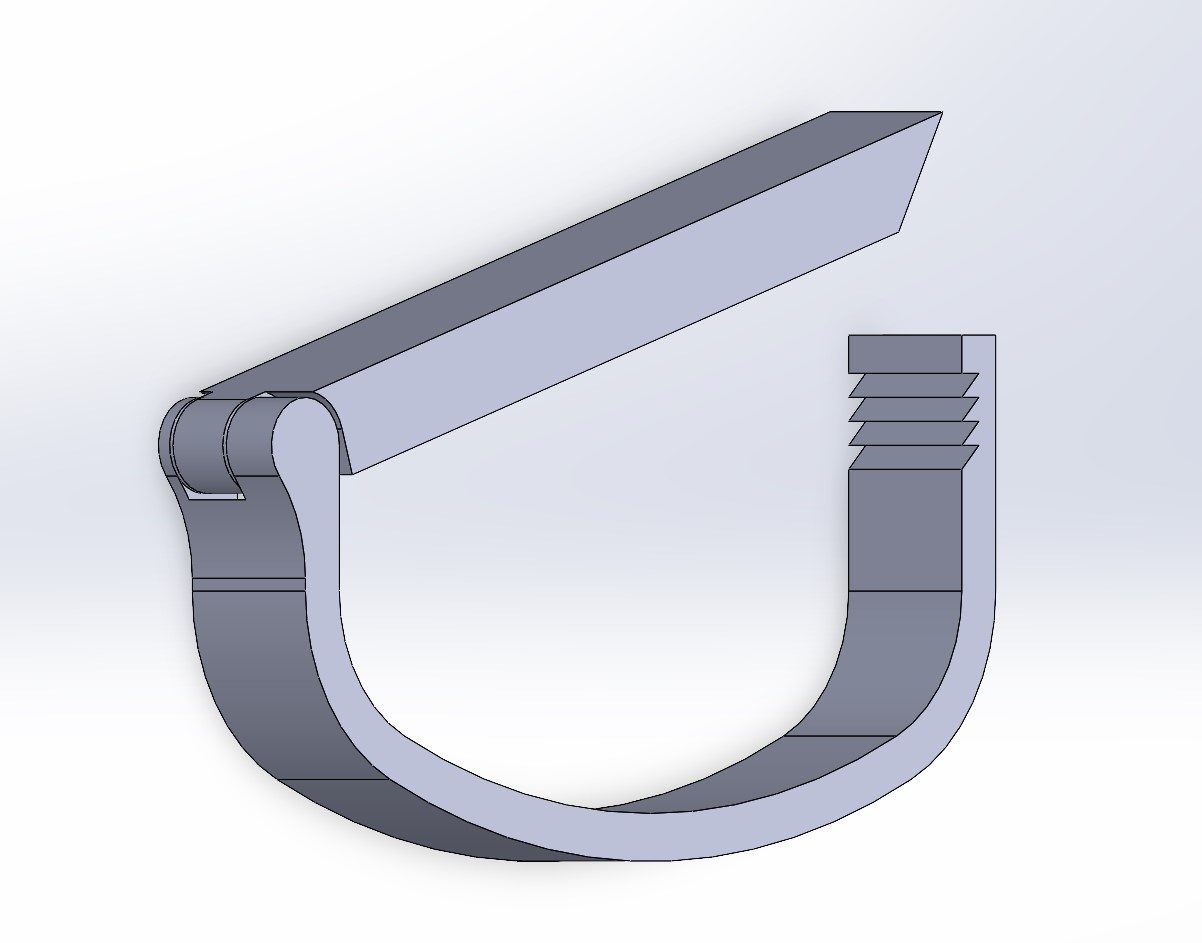
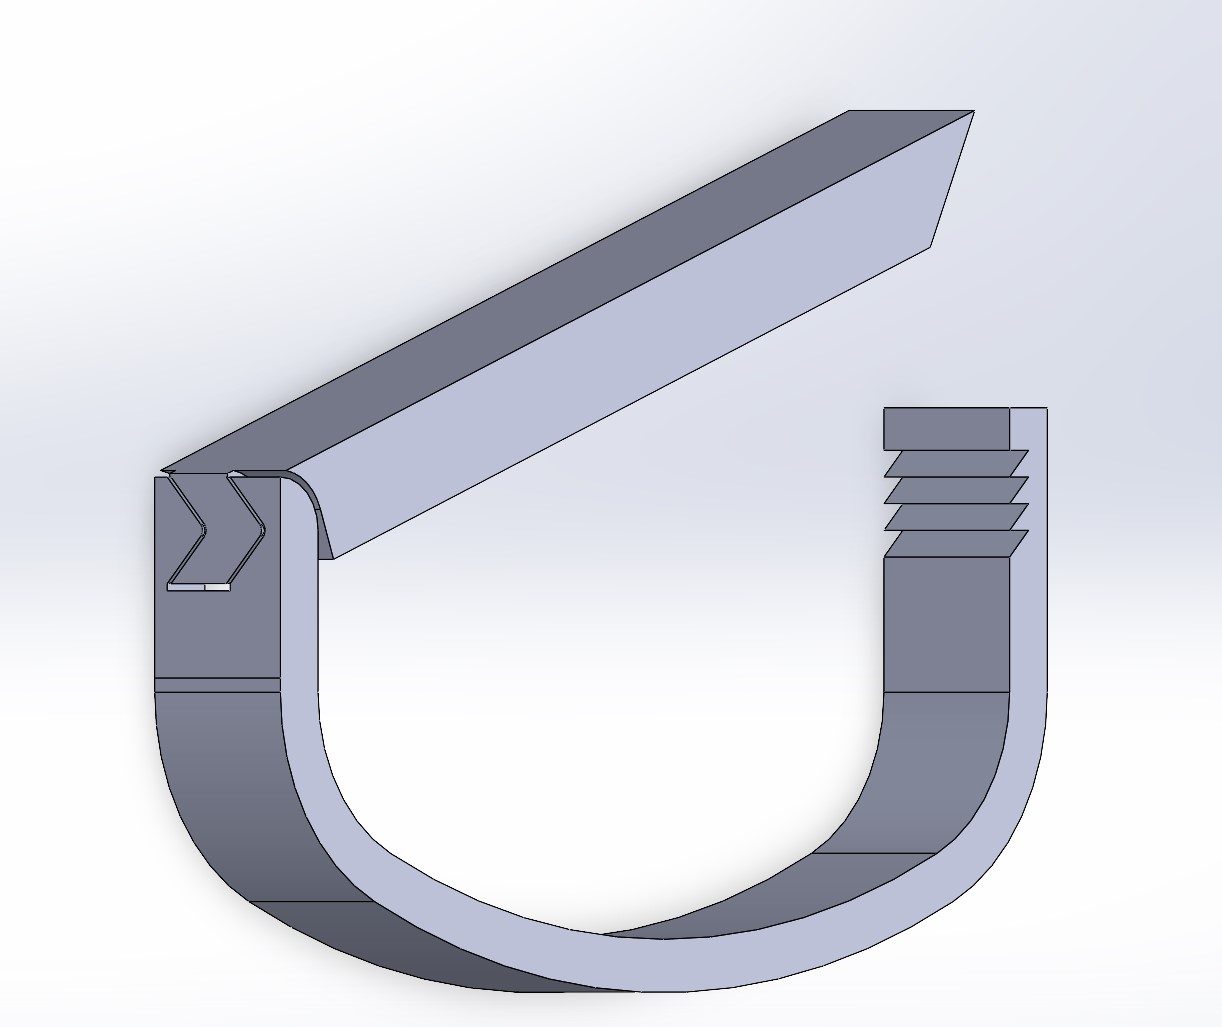
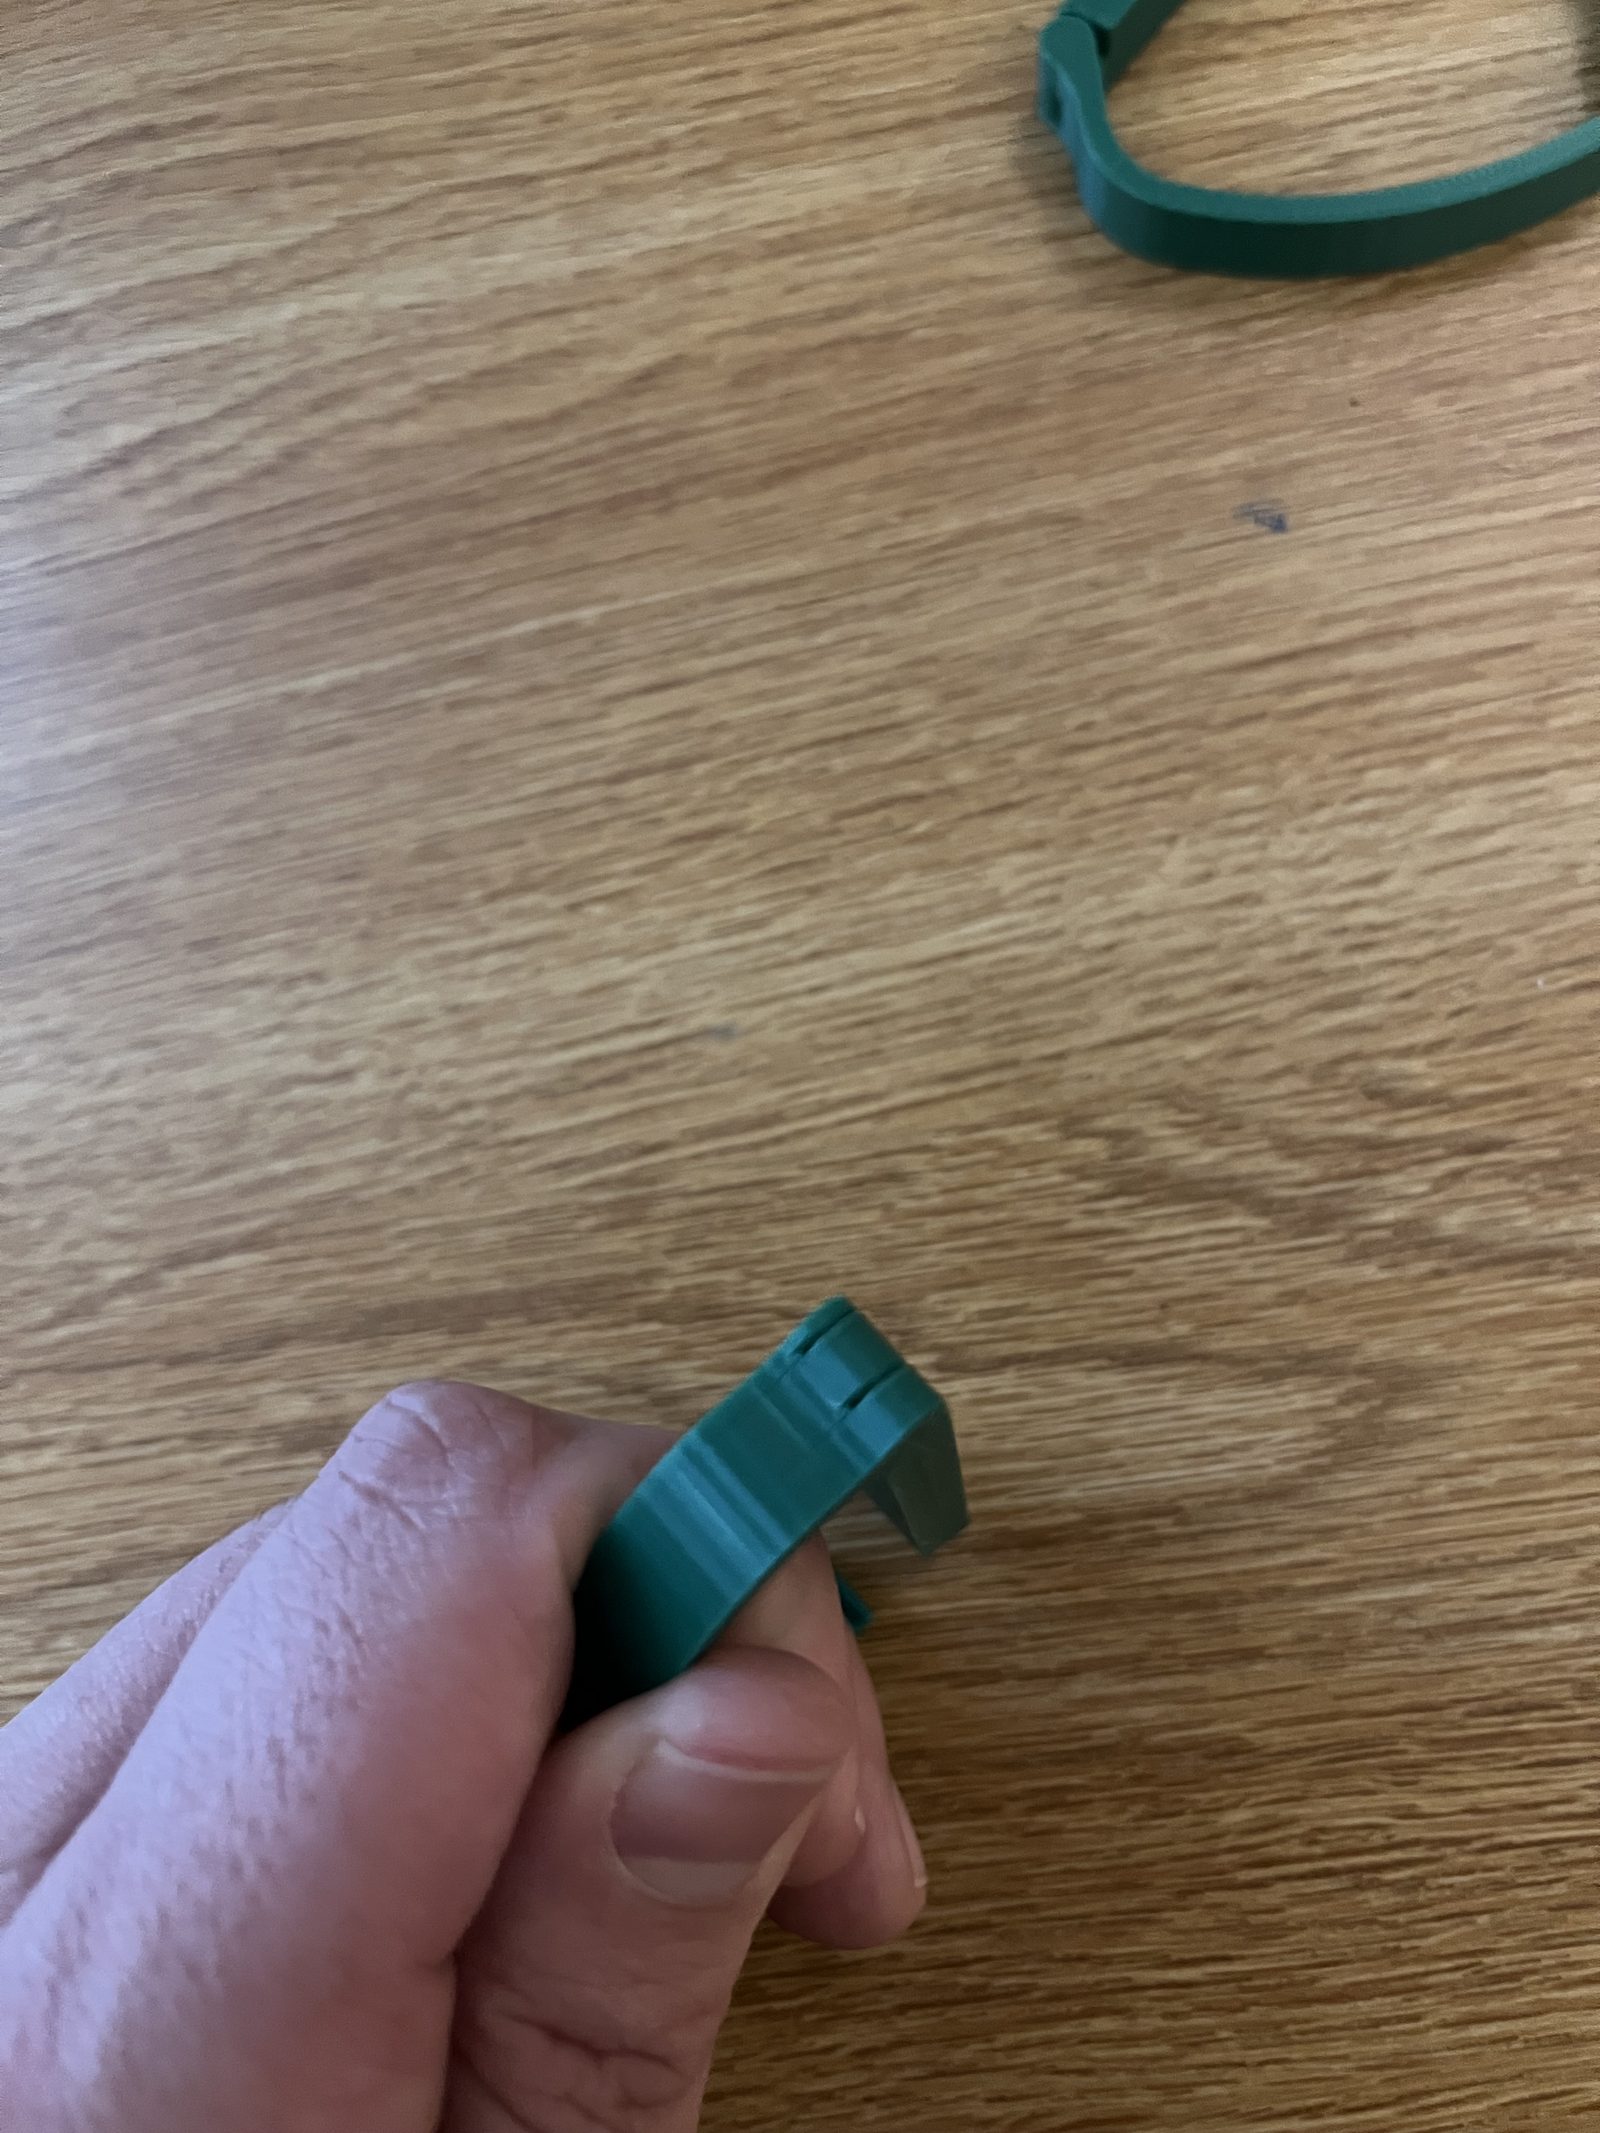
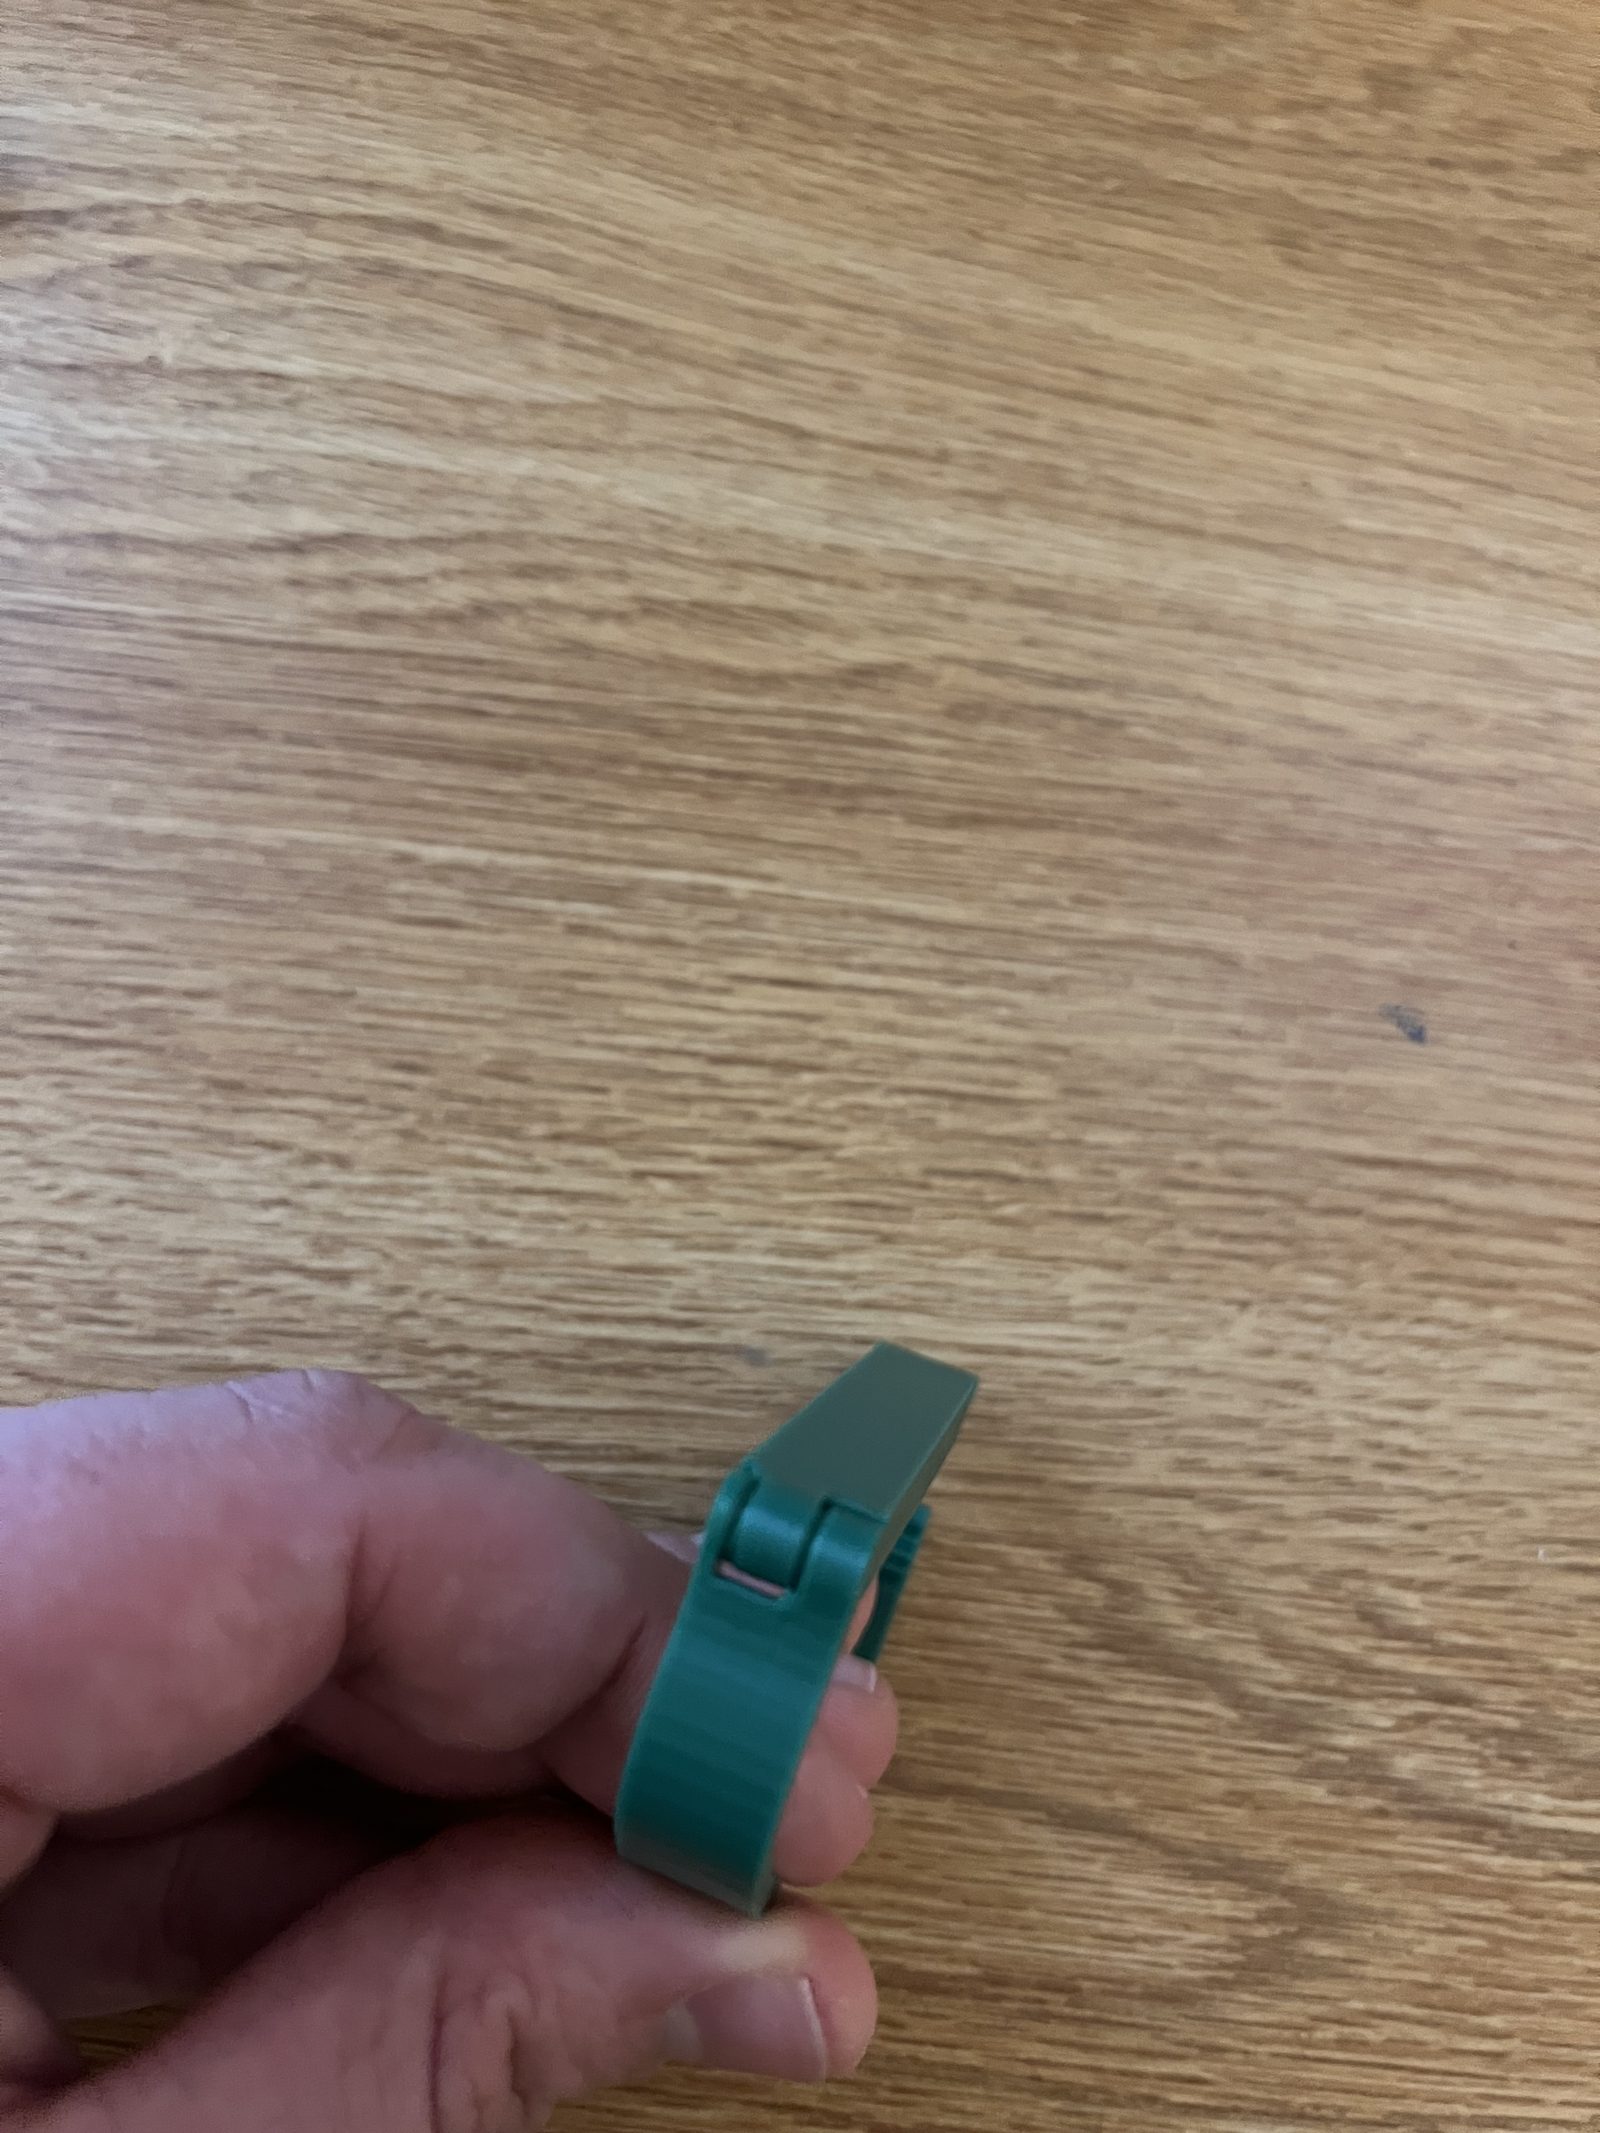
- Fourth version has a working print-in-place hinge and ratchet. It works, but only roughly.

Approach
- Measured the fretboard at several points, since the neck gets thicker further up.
- Commercial capos use metal torsion springs. A plastic print needed a different way to apply pressure.
- I did no calculations. It was trial and error: I changed dimensions between prints until it roughly worked.
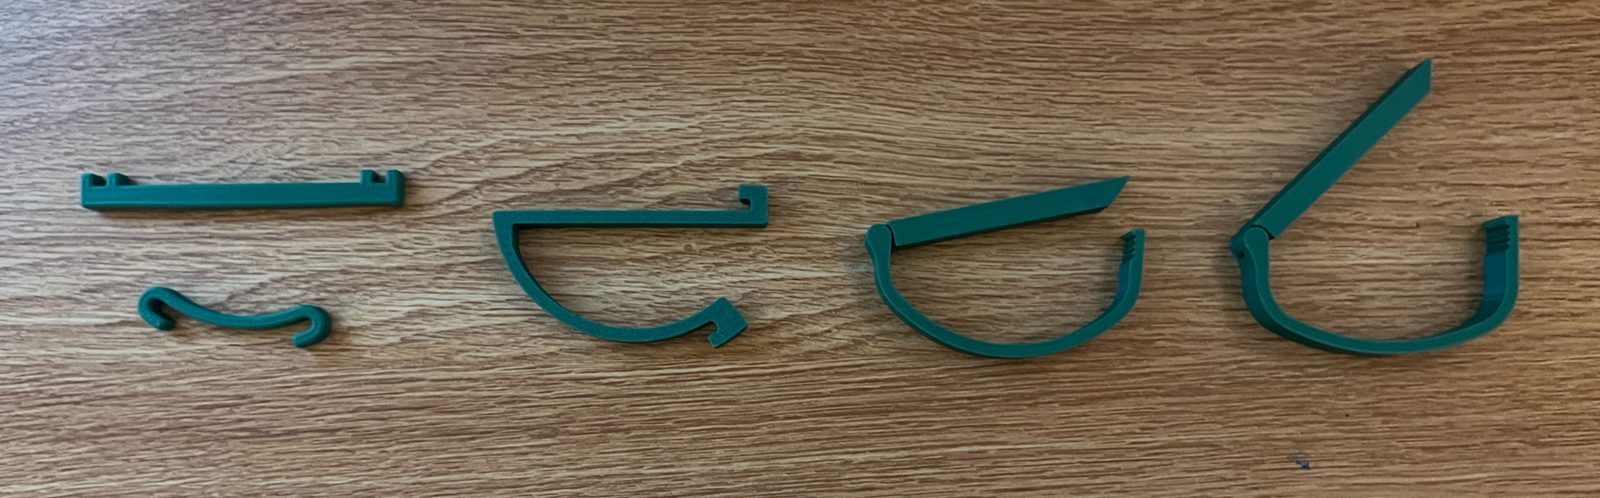
Iterations
- 1: two pieces with rubber bands and a flat bar. Hard to attach, and the bar bent, so the middle strings did not sound right.
- 2: one-piece clip with a rubber band. Easier to attach, but the bar still bent.
- 3: lever arm on a print-in-place hinge with a ratchet. The hinge fused, and it only fit the first fret.
- 4: the hinge and ratchet work, and it is easy to attach.
- The design went through 7 CAD versions in SolidWorks (v1–v6 and v8).
What I learned
- Designing print-in-place hinges and a ratchet in SolidWorks
- The importance of accounting for deflection in designs